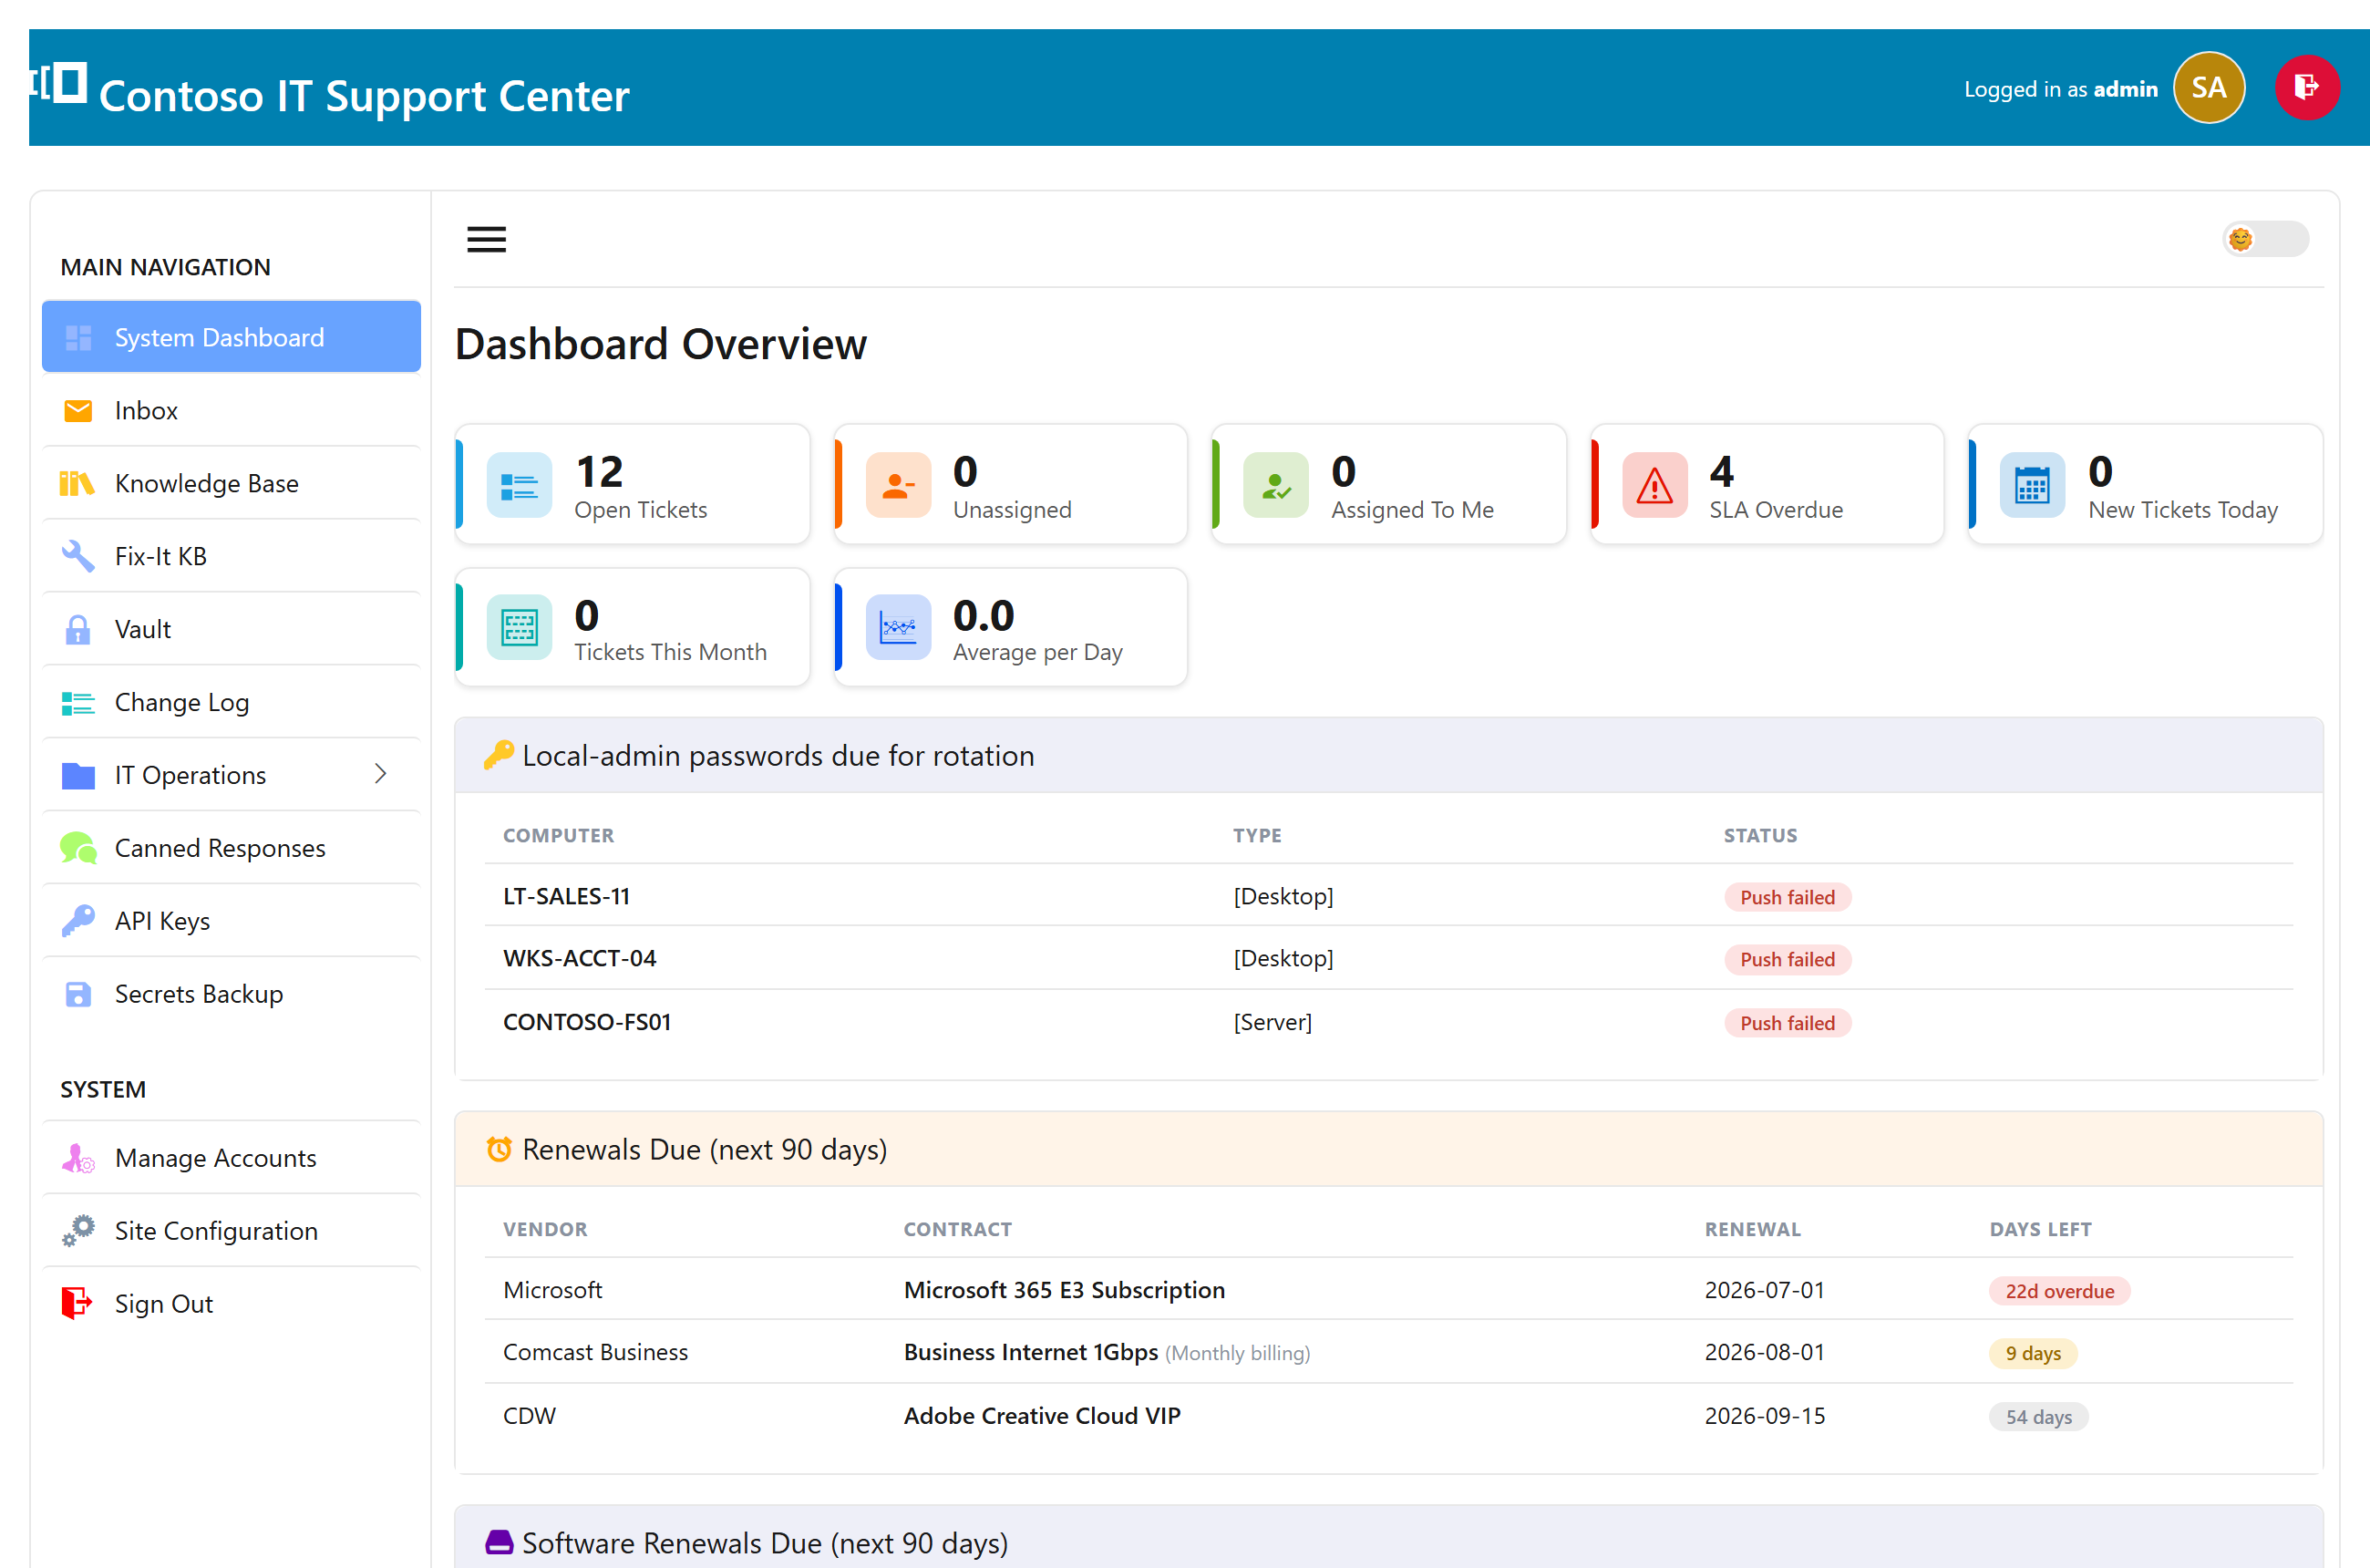
Before you start
SwanDesk is a self-hosted help desk and IT asset manager for Windows. It runs on a machine you own — nothing is sent to the cloud — and your whole team works from a web browser.
To install it you’ll need:
- A Windows PC or server that stays powered on (this is where SwanDesk lives).
- Administrator rights on that machine, to run the installer.
- About ten minutes.
There’s no separate database to set up — SwanDesk includes one (SQLite) out of the box. You can start on the free Community edition and unlock more seats and features later with a license key, without reinstalling.
Download & install
- Download the installer. Get SwanDesk-Setup.exe onto the Windows machine that will host SwanDesk.
- Run it as administrator. Right-click the file and choose Run as administrator, then follow the wizard.
- Choose your database. Pick SQLite (recommended —
zero setup, nothing else to install) or MySQL/MariaDB if you already run
one (paid editions) — and if you start on SQLite you can
switch to MySQL later without reinstalling.
You can also set the web port here — the default is
8080. - Finish. SwanDesk installs and starts automatically as a Windows service, so it keeps running in the background and comes back after a reboot.
That’s the whole install. There’s no web server, PHP, or framework to configure — SwanDesk is a single native Windows app. The installer is code-signed, so Windows SmartScreen shows the MicroPros publisher name.
First sign-in
The first time you open SwanDesk you’ll sign in with a one-time recovery account, then create your own admin.
- Open SwanDesk on the server. On the machine you just installed it on,
browse to
http://localhost:8080(use the port you chose during install). - Sign in with the recovery account. Enter the username
recoveryand the one-time password SwanDesk generated during install — it’s saved in a file in the app’s data folder on the server. For safety this account only works from the server itself, never over the network. - Create your own admin account. Add yourself as an administrator, then sign out and sign back in as you. From now on that’s the account you use.
Reaching SwanDesk from other computers. Once your admin account exists,
staff can sign in from their own PCs at http://your-server-name:8080.
Serving it over HTTPS. Two ways to give your team a friendly, secure
https:// address:
- Let SwanDesk handle it. Install your own TLS certificate on the
server, turn on SSL, and set the web port to
443— SwanDesk serves HTTPS itself, with nothing else to run (step-by-step here). - Or put IIS in front as a reverse proxy, if you already run it.
Set up your help desk
A few minutes in Settings makes SwanDesk yours.
Brand it
Set your organization name and upload your logo. Custom branding is open to every edition — your team and your customers see your name, not ours.
Create departments
Add the groups tickets should route to — for example IT, Facilities, or HR. Each can have its own reps and its own email address.
Add your team
Invite your support reps and give them the right role. The free Community edition includes one rep seat; paid editions add more (5, 15, or unlimited). See edition comparison for the details.
Connect your email
This is the step that turns SwanDesk into a real help desk: incoming email becomes tickets, and your replies go back out automatically. Open Settings → Email. There are two halves:
- Incoming (IMAP) — SwanDesk watches your support mailbox (say help@yourcompany.com) and turns each new message into a ticket, threading replies onto the right one.
- Outgoing (SMTP) — SwanDesk sends replies, notifications, and auto-acknowledgements from that same address.
Using Microsoft 365 or Exchange Online? Choose the modern (OAuth) sign-in and authorize SwanDesk — no app passwords to manage.
Once email is connected, your reps can work tickets straight from their inbox —
reply to answer a customer, or use hashtag commands like #close,
#assign, and #private right in the reply.
Activate a license
The Community edition is free and runs forever. When you’re ready for more rep seats or paid features (change management, asset discovery, the Vault, the API, and more), buy a license and drop the key in.
- Buy an edition in the store — your license key is emailed to you instantly.
- Paste the key into Settings → License Key.
- Done. The new features unlock immediately — no reinstall, no downtime.
Not sure which edition you need? Compare editions.